A reliable camping gas stove can serve you faithfully for a decade, but only if you treat it like the precision instrument it is. Neglect invites clogged burners, leaky seals, and the kind of sputtering flame that turns a peaceful sunrise brew-up into a frustrating ordeal. Below are field-tested practices that will keep your stove roaring season after season.
Start with the basics: let it cool. After every trip, resist the urge to stuff a still-warm stove into its stuff sack. Heat softens O-rings and traps moisture inside the housing, accelerating corrosion. Give the unit at least fifteen minutes of open-air rest, then detach the fuel canister. Storing canisters screwed to the valve—even partially—can flatten the seal and create slow, hard-to-detect leaks.
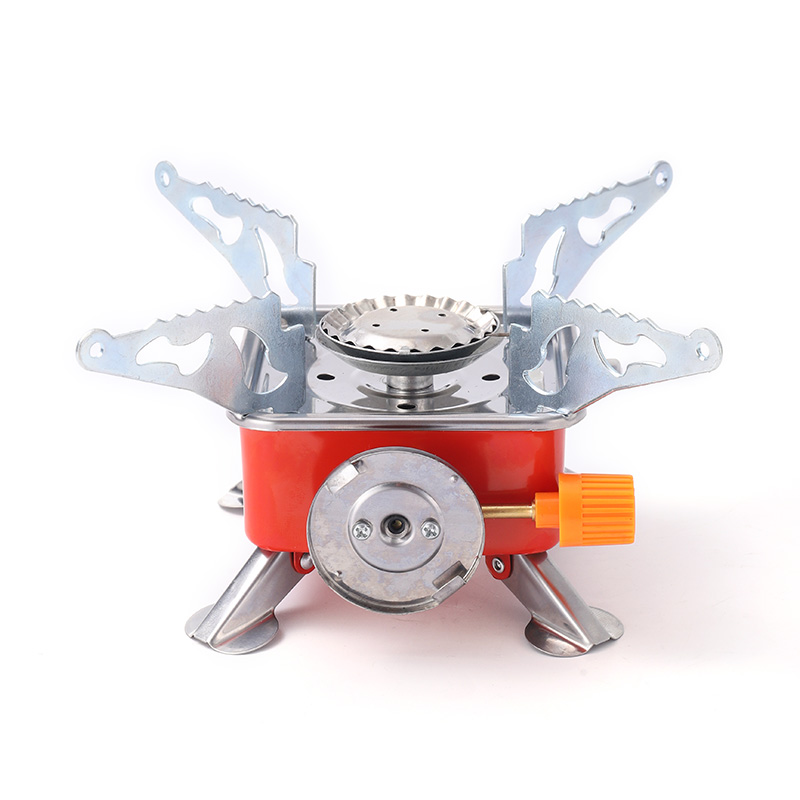
Next, perform a three-minute wipe-down. Use a lint-free cloth dampened with warm water and a drop of mild dish soap. Pay special attention to the burner head, where microscopic residue from boiled-over pasta or coffee grounds can carbonize into rock-hard debris. If you spot black crust, remove the burner plate—most brands allow tool-free disassembly—and scrub gently with a soft toothbrush. Never use a metal pick; brass jets scratch easily, and a single groove will upset the air-to-fuel ratio, producing yellow, sooty flames.
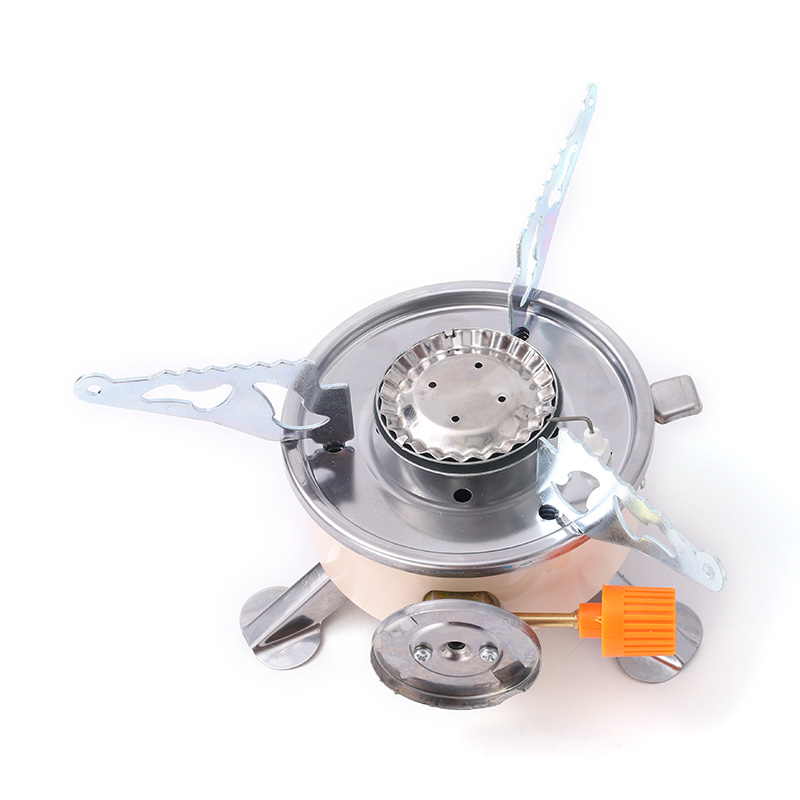
Inspect the fuel line and O-rings under bright light. A cracked ring looks like a hair caught in the groove; replace it immediately with a manufacturer-approved spare (they cost less than two dollars). While the line is off, invert the stove and give it a gentle shake. You should hear nothing; rattling suggests a loose baffle or broken flame spreader. Addressing these issues at home prevents the dispiriting discovery of a lopsided burner 3,000 feet up a mountain.
Lubrication is next. Apply a pin-head-sized dab of silicone grease to each O-ring every fourth trip. Petroleum jelly degrades rubber, so stick to silicone. Rotate the ring so the film is even; a little goes a long way. Reassemble finger-tight—over-torquing strips threads, especially on aluminum valves.
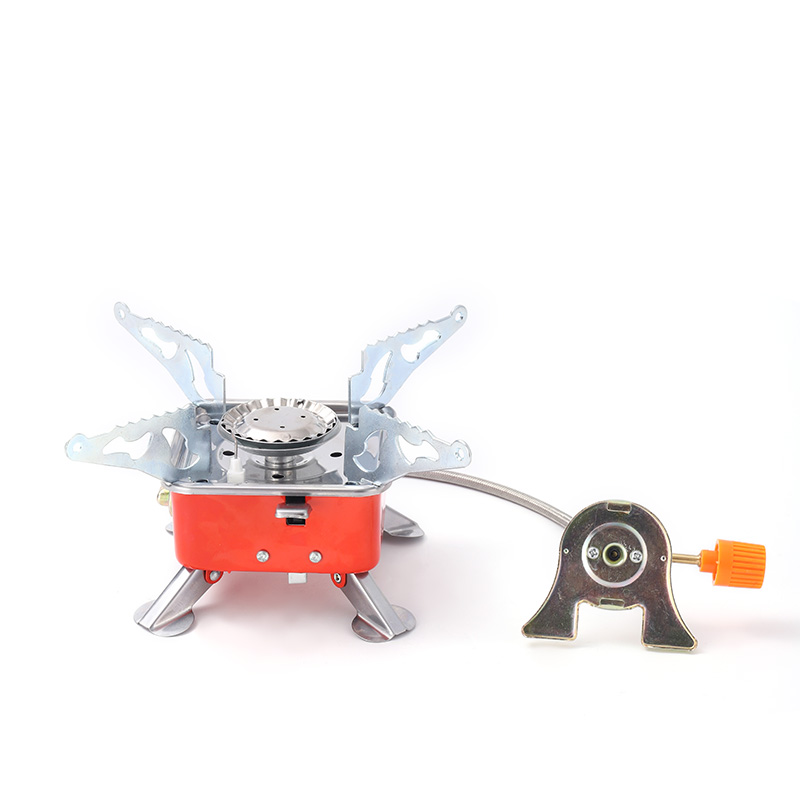
Now tackle the fuel canister interface. Wipe the threads on both the stove and the canister with isopropyl alcohol; this removes the fine grit that acts like sandpaper when you screw them together. If you notice persistent hissing right after attachment, the valve needle may be bent. Replacement needles are inexpensive, but check compatibility with your model.
Seasonal storage demands one extra step: purge the fuel line. With the canister removed, open the valve for three seconds to release trapped gas. This prevents diaphragms from taking a set and eliminates the stale odor that greets you when you unbox the stove next spring. Store the unit uncompressed in a breathable cotton bag; plastic cases trap humidity and foster mildew.
Finally, schedule an annual deep service. Submerge the disconnected fuel line in warm, soapy water and watch for bubbles that reveal hairline cracks. Dry thoroughly, then reassemble with fresh thread sealant. A fifteen-minute investment once a year will add years to the life of your camping gas stove and guarantee that the cup of trail coffee tastes like victory, not regret.
Copyright © Yongkang Aomijia Industry & Trade Co., Ltd. All Rights Reserved.
Lightweight Camping Gas Stove Cookware Factory
 English
 中文简体
中文简体